Lens Construction
Learn how to create a simple singlet lens using the Lens Wizard and explore the lens component definition in the Optical Design Editor.
Transcription:
In this video, I will show you how to create a singlet lens.
And for that, we go here on the top to the construction tab.
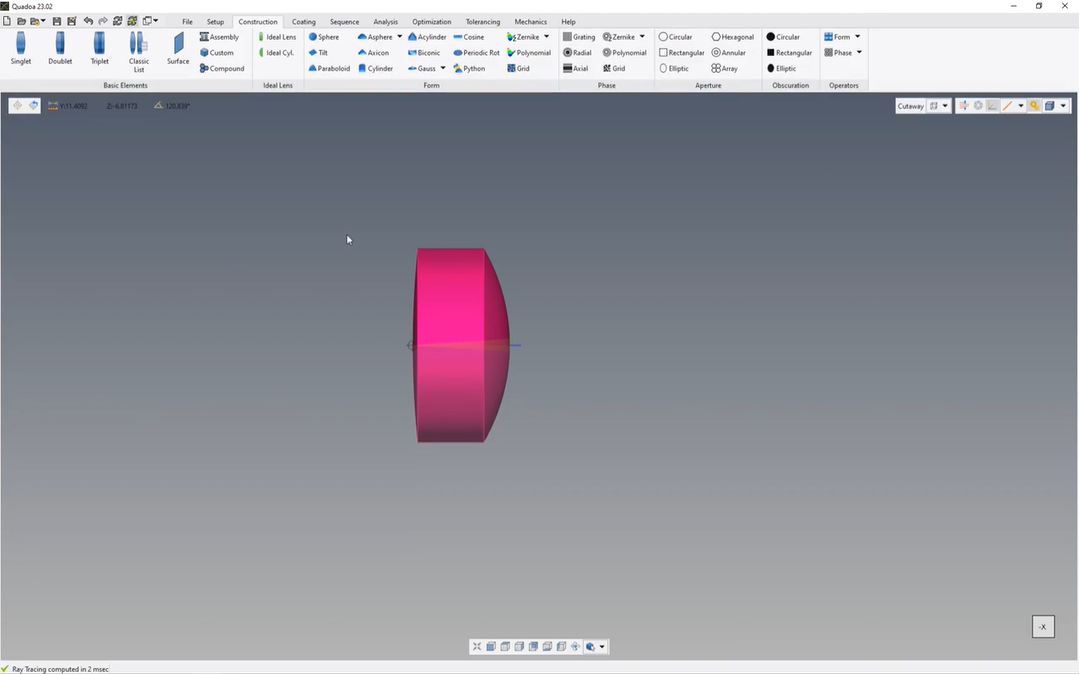
And here on the basic elements, we see different lens wizards for singlet, doublet, and for triplet.
And let’s open here the singlet wizard.
Here in the right side, we see a preview of our lens. And here on the left side, we can specify the parameters of the lens, identify a name as a unique name, so you can, give it a name, that you like.
Here for radius one, it’s the radius of the left surface, radius two, the second radius of the lens.
Here’s the thickness, the aperture radius.
And here for the material, we can insert a material or we can here search the material catalog.
So here you have different, materials of different manufacturers.
You can filter the materials as well by index or by the EBIT number and by a lot of other settings.
So in my case, I just take here, for example, from shot the f two glass, click here on insert material and click here on okay, and now we can see that here in the three d view, the lens has been inserted.
The lens has been inserted as well to the optical design editor.
And to open the optical design editor, we go here to the top under the Windows icon, and then we click on optical design editor.
And here we see the singlet lens, the identifier name, which we have previously, specified.
And when we open here the singlet lens, we see here as well the material f two from shot. We can see here the radius of the surface one, the radius of the surface two, and as well here the aperture radius of the surfaces.
The standard form of the surface is always, a sphere. So it’s a spherical form, which is the standard default setting.
So if not, edit another form, it’s always in spherical form.
Thanks for watching.